Just a precursor: this post and post series will be long and detailed. You’ve been warned! 😉
It is, happily, the day I walk you, dear reader, through the arduous, yet rewarding process of window-making. This post will cover the reasons for building custom windows, the design, the materials, and the process of actually building the windows.
Considerations and Rationale (aka talking myself into it…)
I’ll start with the “why” because it’s often helpful to start with the rationale behind a decision before explaining the process and outcome. As much as I wanted a quick and fast solution to cross-ventilation, natural light, safety, and a beautiful design feature, this wasn’t possible without custom-made windows. Why? House windows are designed for houses, not highway speeds or flying debris. RV windows look like they belong on an RV, which is not to say they are bad, but they look and “feel” different than traditional casement, single-hung, or double-hung windows. And lastly, going without windows was not an option because we are not planning to have an A.C. and we want our living space to feel light and open.
What was the solution? Having custom windows designed and built or building the windows ourselves. One of my favorite aspects of this conversion process has been learning a variety of new skills and information while having nearly unlimited creative potential. The latter bogs my brain down sometimes, but the result is worth the thought, anxiety, and perseverance. Our decision was to build the windows ourselves.
Now anywhere in home repair or remodeling forums, the common advice is”don’t do it – it’s not worth it.” This only made me want to build them more as long as I would end up spending less money and having a nice, sturdy product. The best place to look when thinking about building windows are old-timey carpentry and woodworking books. Since very few people build their own windows now-a-days, it’s easier to go back to when people still did build their own windows. I found a helpful book at the Dayton Metro Library written in the 1970’s about basic woodworking skills for door and window making. This helped get my creativity flowing.
There are a few design and functionality considerations I had to keep at the forefront of this project.
- Safety on the road while driving
- Safety when the vehicle is parked from larcenous passerbyers
- Cross-ventilation
- Waterproofing
- Weight
- Aesthetics (visually appealing design both inside and out, and natural light)
After a lot of back and forth, we decided to build wooden casement and fixed windows with bronze, multi-wall polycarbonate glazing. The fixed windows, without a doubt were much easier to install. The casement windows are still in the process of being permanently installed (more details as to why listed below).
The Design Process
There are some limitations as to what size the windows could be for the bus. Each of the channels is approximately 24″ wide and 41″ tall. Another reason we decided to custom build the windows… I couldn’t find many used windows we could use in that space. There are a couple of exceptions to our 24″ x 41″ windows. After raising the roof, we decided not to replace 3 channels. With having 25 channels secured, we believe this is more than sufficient to keep the structural form and safety of the bus. One of those channels was left out to create space for our “picture window” in the kitchen area. It’s bronze polycarbonate so you cannot really see the sites other than blurs, but it lets in plenty of light.
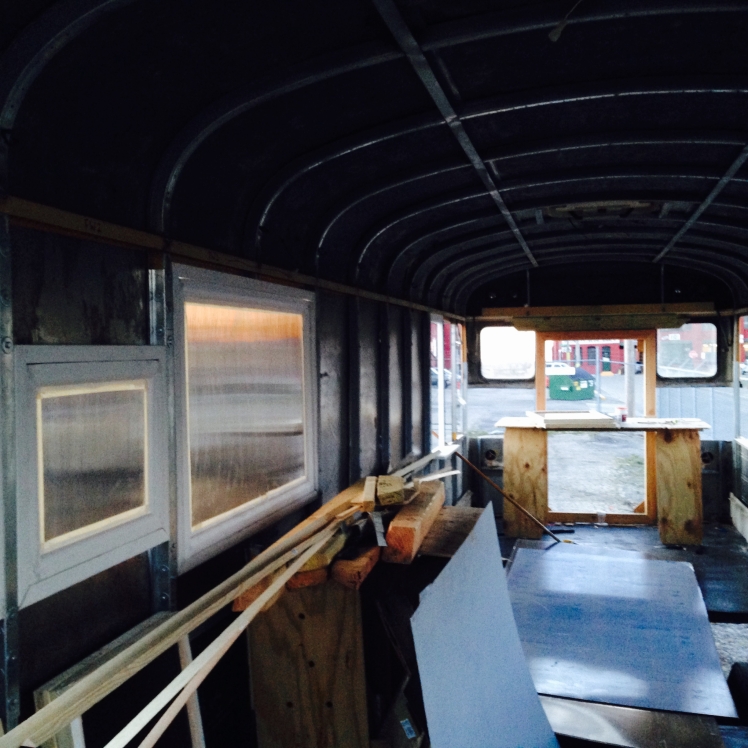
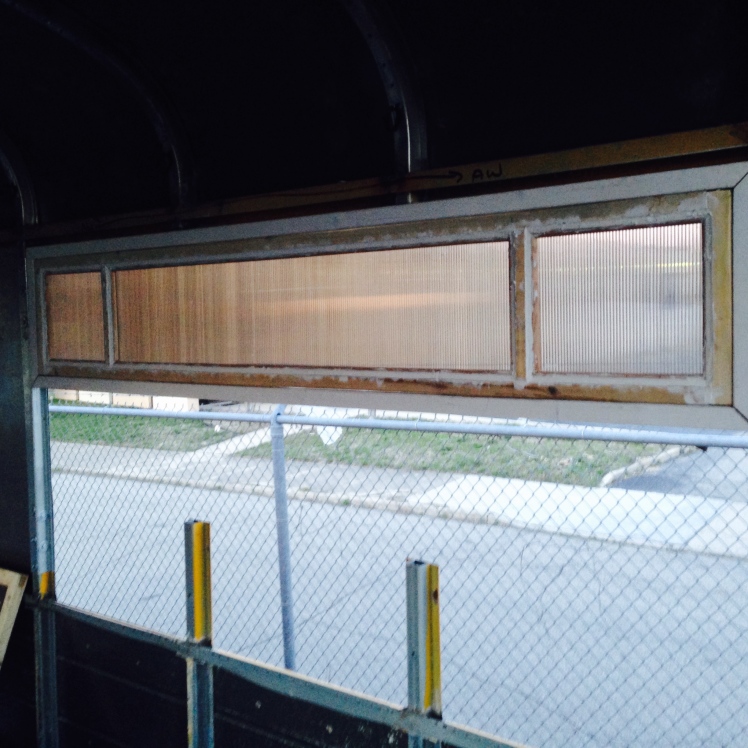
The other window looks like a transom window, but without a door underneath.
There are two smaller, nearly square-shaped fixed windows near the front of the bus.

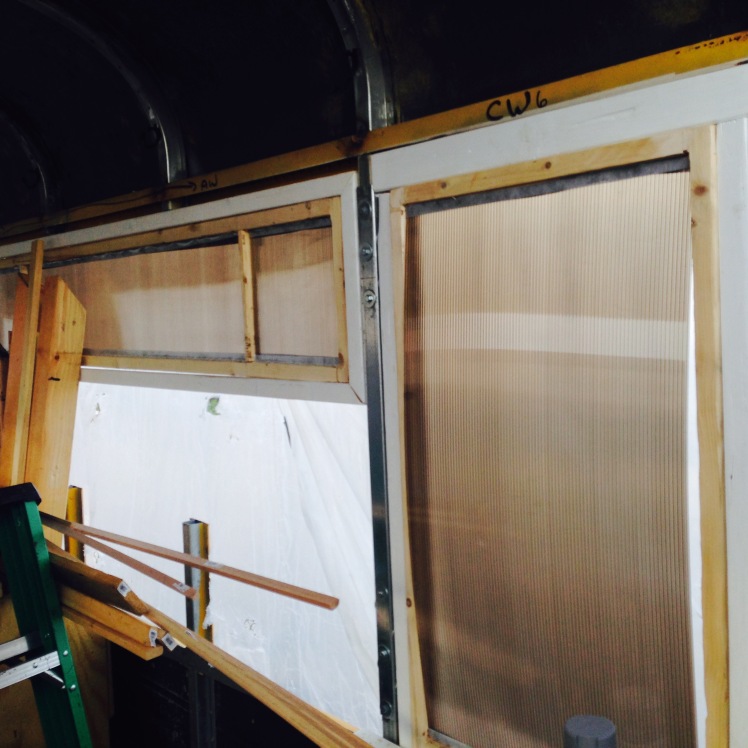
And, lastly, the majority of the windows are casement windows. There are six of them about 37″ x 22″. I have the hardware to install these, but I am waiting for a warm and humid day before I permanently install the casement sashes into the frames. Why? Well, the expansion of the wood is significant when it is hot and humid. The windows were built during the cold and dry winter. I know there will be a discrepancy and I’m trying to avoid having to plane the windows after I’ve installed them. That’d mean uninstalling them, planing them, sanding them, painting them, and THEN reinstalling. I’d just prefer waiting to check the windows off of my finished projects list to avoid all of that extra work.
You must install the polycarbonate with the flutes placed vertically to allow for moisture drainage, which prevents foggy windows. I thought the flutes would be 4′ long, but instead they were 12′ long (oops). That means I was going to have to use multiple pieces of the polycarbonate for the transom window, which is just around 6′ long. Anyway, all of this factored into the design process.
As I mentioned before, I borrowed an old-timey carpentry and woodworking book from the Dayton Metro Library. I gained insight into the different types and designs of various windows and joints used to build window frames and sashed. I decided on rectangular and square window frames for all of the windows. Given that this is my first real woodworking project, we decided against any complicated geometric designs or, if you can image it, circular designs. Beautiful, but too complex for my limited (but growing!) skill set.
Over the past few months, I’ve studied most of the windows I’ve seen from the frame to the sash to the trim to the hardware. There are a lot of variations to windows and it was helpful to see a number of examples up close. Fortunately, there are a ton of wooden windows in the neighborhood in which we live. My grandparents also have more modern casement windows that open to the outside (like ours will). The design of those windows convinced me to go the casement route instead of single or double hung. They are also somewhat less complicated to build and reduce the amount of heat loss during the winter since there are basically no unsealed gaps like you see in older rectangular sash windows, single-hung, or double-hung windows.


Tools and Materials for Building Windows
There are a number of fancy and/or expensive tools to help in the window-building process. I don’t have all of those wonderful tools, but I did alright! Some of these might seem obvious… I’ve learned not to underestimate those small details. They add up into a bunch of time if you forget or misplace them!
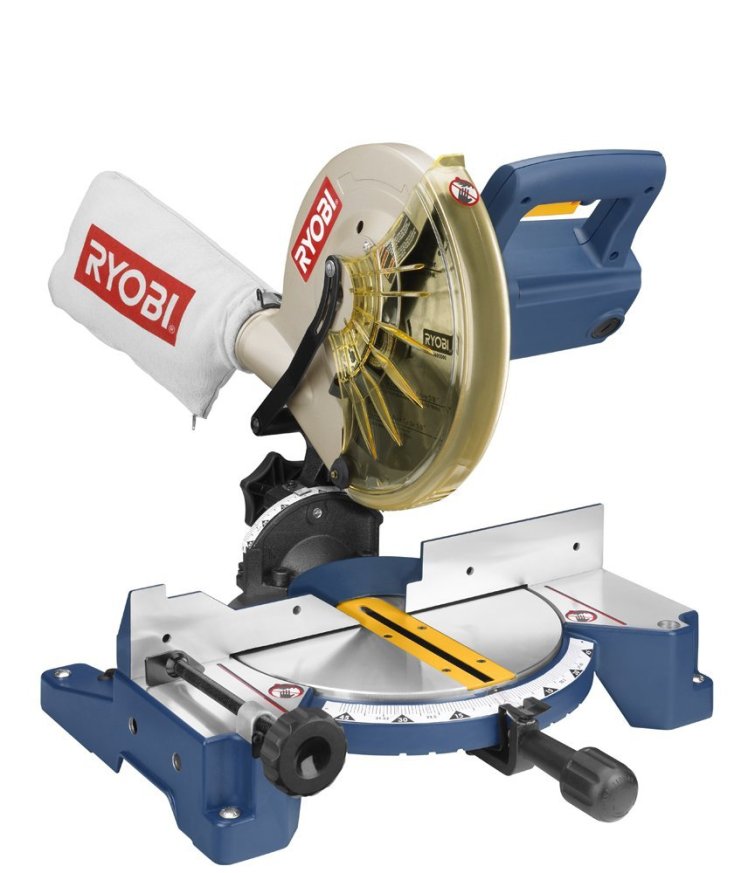
Miter Saw
Circular Saw

Flush Cut Hand Saw

Fixed-based Router

Wood Chisels

Drill

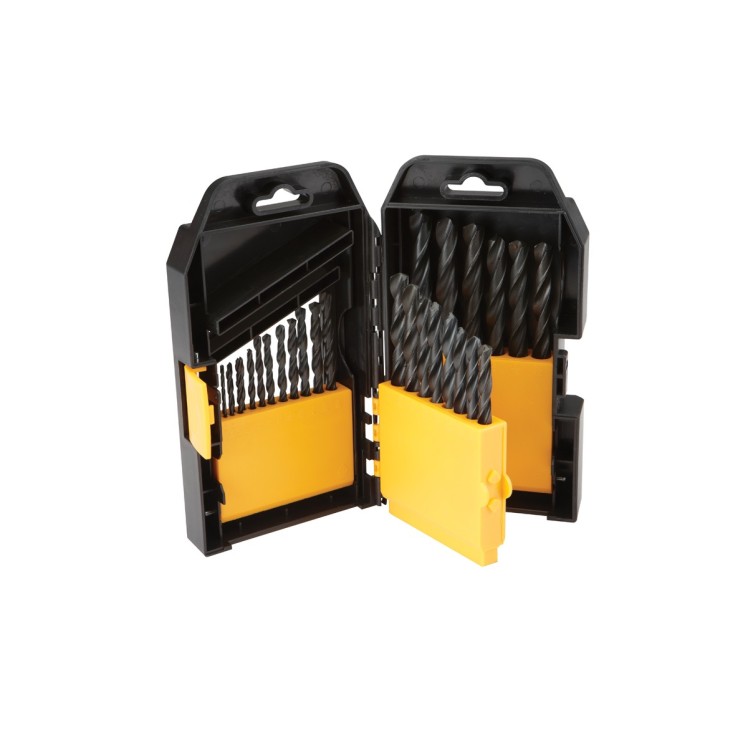
Drill Bits
Rebate/Rabbet Router Bit w/Bearing

Clamps


Disc Sander

Planer (hand or electric hand)

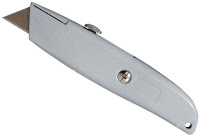
Box cutter/exacto knife
Measuring tape

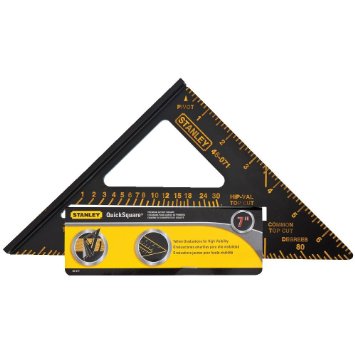
Speed square
Pencil
Untreated pine or whatever lumber you’d prefer
- Pine is cheap and since these were my first windows ever, I wanted to build with low-cost, soft lumber in case of mistakes. I’d use cedar if I had to do it over again. I’ll probably build replacement windows down the line as a hobby project one day. The pine will hold up for years and theres no reason to replace them other than preference. So, like I said, probably, but not definitely.
- Cedar is naturally more resistant to mold and rotting. It’s beautiful and easy to work with, just costly when compared to pine.
- Oak is a harder wood than pine or cedar and is (should I say “was”) commonly used in window making.
Wooden Dowels
Wood Glue

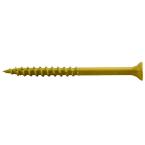
Deck Screws
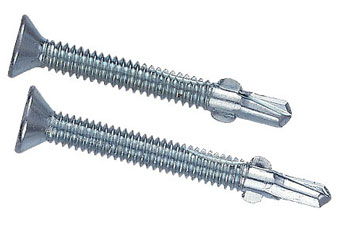
Self-drilling Screws
- Wood-to-metal
- Flat screw head to become flush with the surface (vs. hex or rounded)
- Phillips head bit to install
Paint, stain, and/or tung oil for protecting the wood
Caulk to seal the glazing
- 100% silicon is needed for the polycarbonate; though, there are a number of options depending on what materials you use as your window glazing.
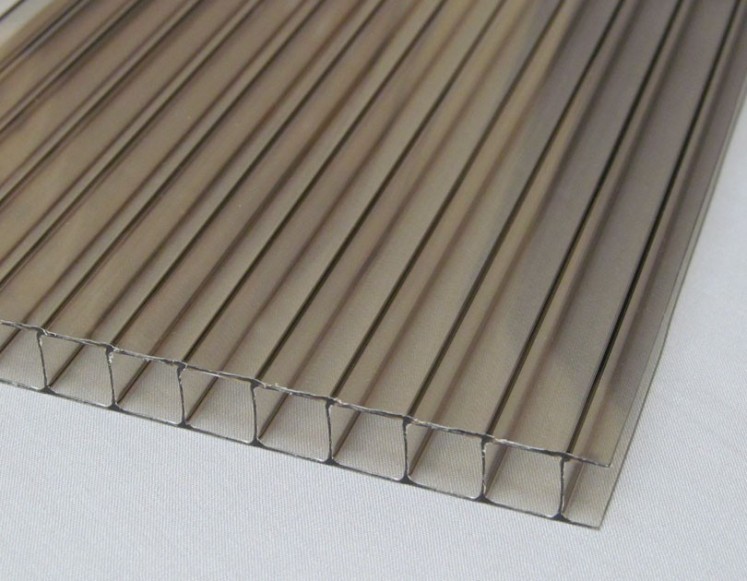
Glazing
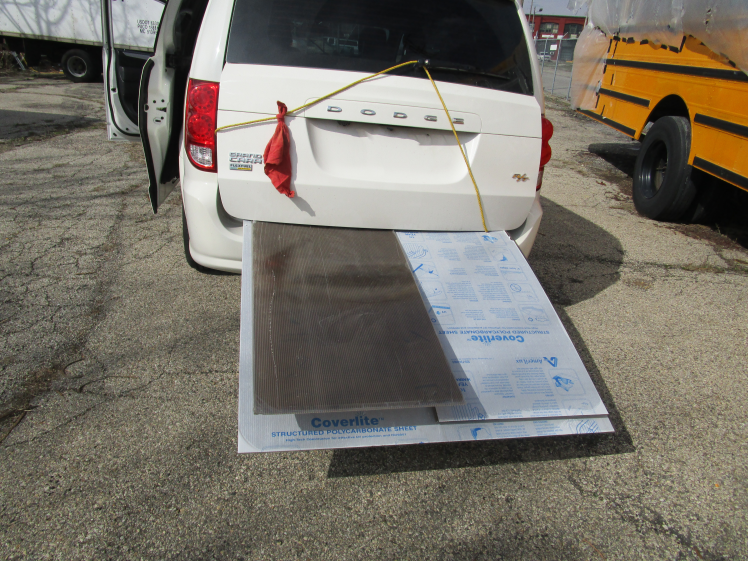
- We used polycarbonate. It’s strong, helps with heating in the winter, lightweight, relatively low cost, easy to cut to size, can come tinted or un-tinted, and comes in multi-wall sheets (or single-wall sheets if you prefer to create your own double-pane or just use a single pane) for maintaining an air-barrier to reduce heat loss. The downside is that it scratches easily and the multi-wall sheets are not perfectly transparent.
- You can use glass, plexiglass, tempered glass, or really anything you want as at the glazing. It’s unsafe to use a material that is not going to hold up to highway speeds and withstand the blow of a rock or debris. Just keep that in mind!
It’s always formulating and defining the process that’s the most difficult step. Hopefully this post shed some light on the plan we developed for windows and why it was worth it. In BusBus Window-making (Part 2: Building the Windows), I’ll explain the process I used to actually cut and assemble the windows. There will probably be a Part 3 for the window hardware and installation once I can install the windows permanently.
Thanks for checking this post out and please share your feedback or insights into the window-making process. I’m always looking for new or better ways to make our project more efficient. Until next time!
