Floor plans, in my experience so far, are not created in one attempt. It’s more of an evolution and the accumulative iterations become a final floor plan. I’ll let you know once we have a final floor plan! I had planned to try to use an existing floor plan and then modify it to my own style. There are not too many full floor plans available for free or for purchase online. This surprised me considering the number available for tiny houses on wheels and “skoolies” have been around much longer. Fortunately, I love learning new skills and decided to master (or as it turns out, not master) SketchUp and design my own floor plan. What could get a person more enthused about their own tiny house/skoolie build?
Google SketchUp
A few months ago, I downloaded the free, basic version of Google SketchUp, which is a 3-D, CAD software. it is surprisingly simple to use. I started to watch the part one of the first tutorial on SketchUp’s website and, 5 minutes in, decided I never really read instruction manuals. I closed out the tutorial and jumped right into my design.
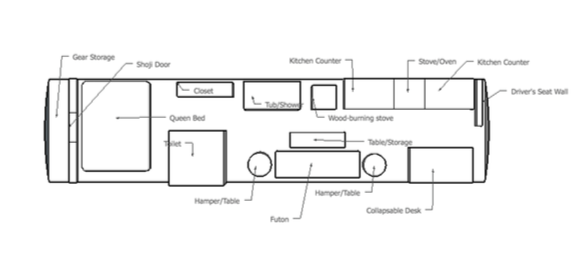
BusBus Floor Plan Version 1
While exciting, BusBus Version 1 left much to be desired. I hadn’t even remembered the refrigerator. My thought process went form “just get something down” in Version 1 to “you can make this look exactly the way it will look in a few months” in Version 3. For Version 1, I assumed that I could not make anything 3D and so 2D would have to do.
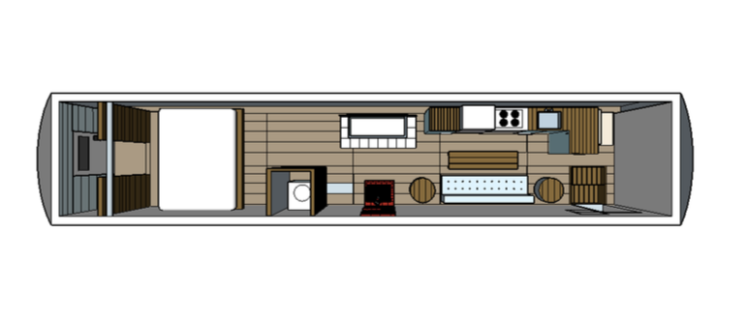
BusBus Floor Plan Version 2
The things I learned from V1 were incorporated into my very first 3D SketchUp design. It took me a long time to custom design each of these pieces including the wood floor. I didn’t use any groups or components and had a very difficult time moving objects without dragging part of the floor or wall. But hey, at least I remembered the refrigerator…
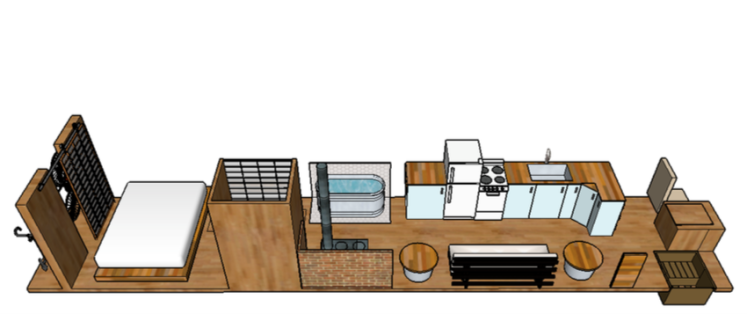
BusBus Floor Plan Version 3.1
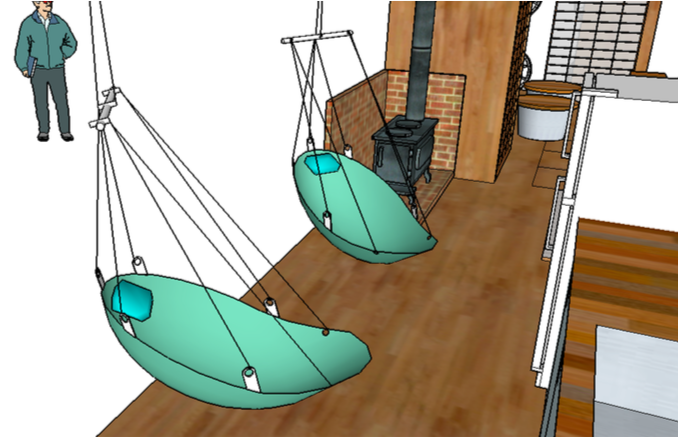
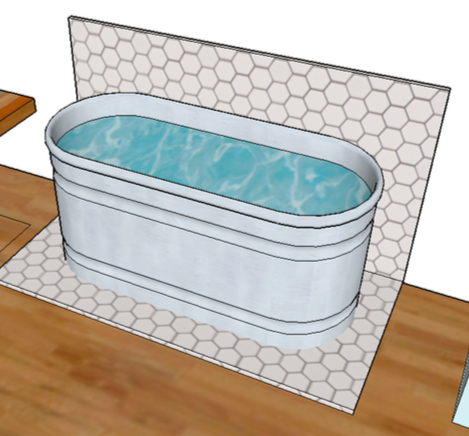
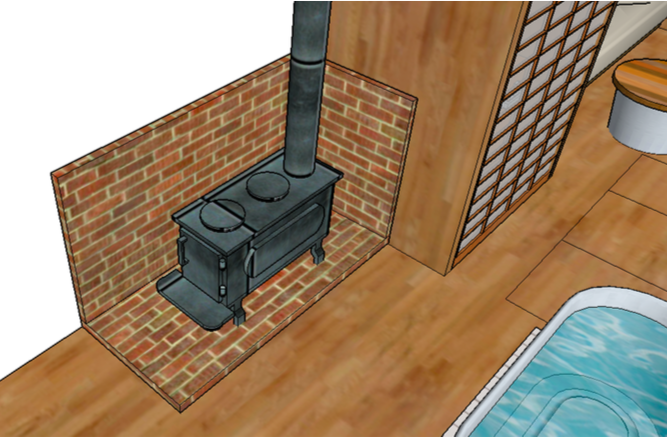
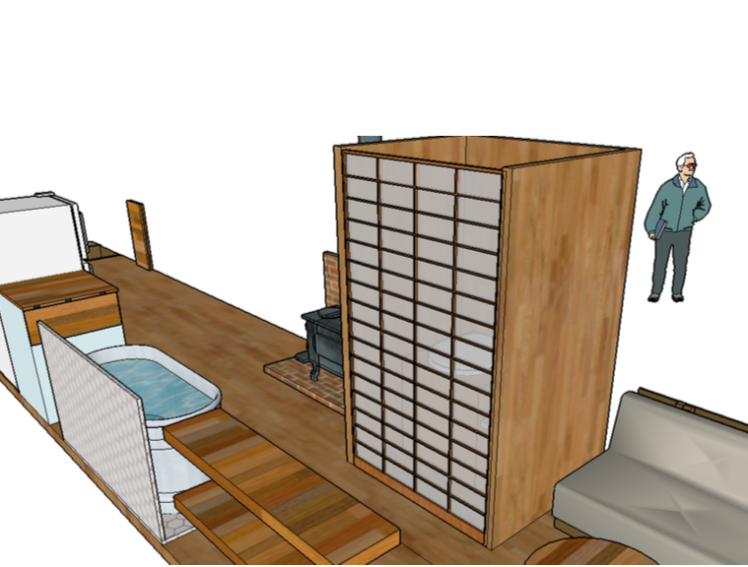
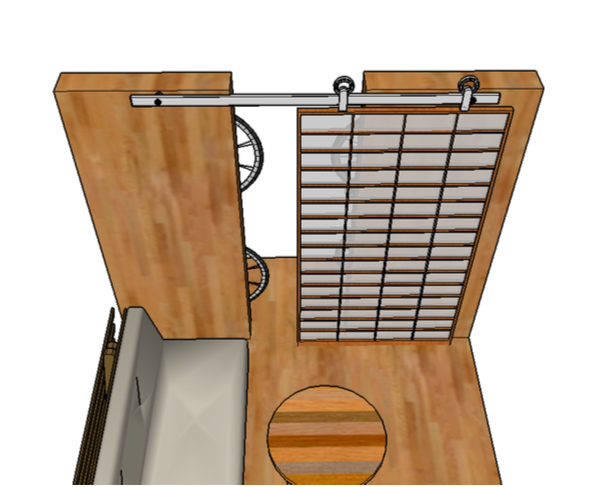
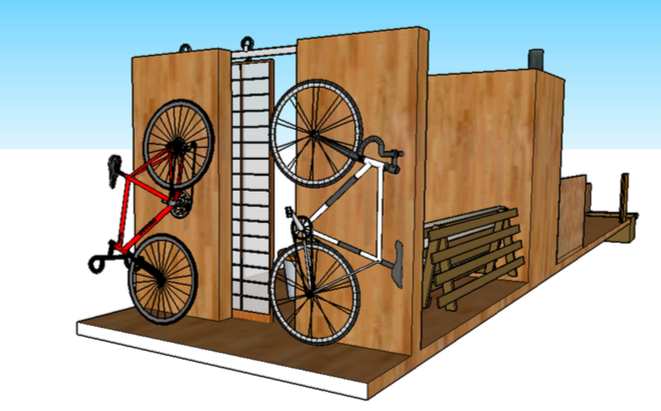
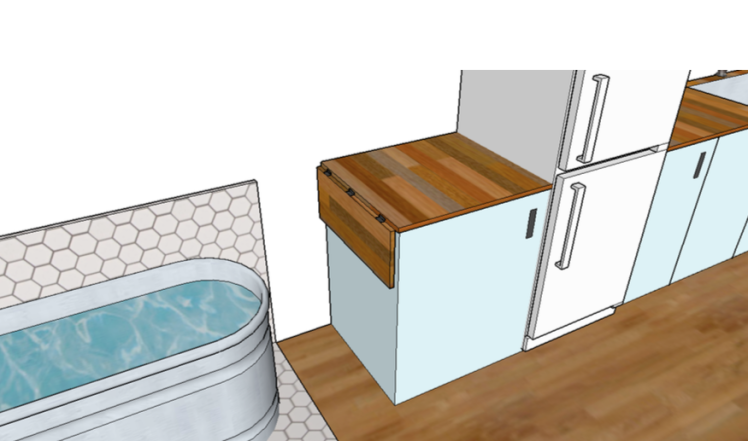
My masterpiece. Well, at least until I learn more in SketchUp or change my mind. I drafted the V3.1 and then tweaked it a number of times. I decided to design everything similarly, but with the addition of objects already created by others and available through the 3D warehouse including the horse trough, composting toilet, shoji door, wood burning stove, bicycles, barn door track, and futon. Bart and I went through the design together and made some pretty wonderful changes. I think the layout is just about where it will be when we build.
BusBus Floor Plan Version 3.2
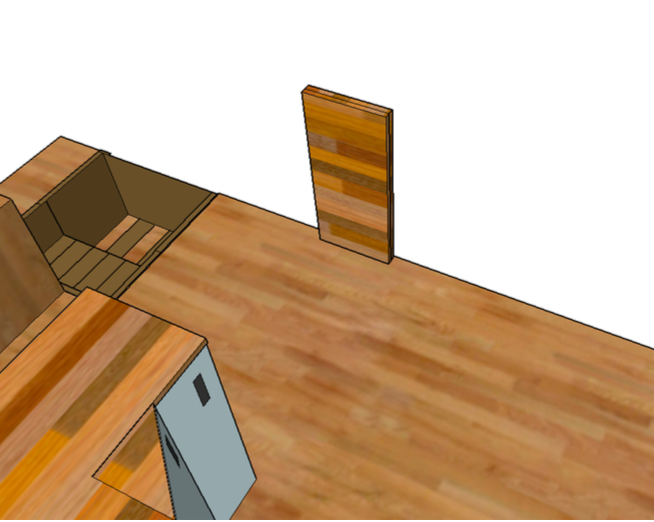
Here’s the current version with the most recent updates.
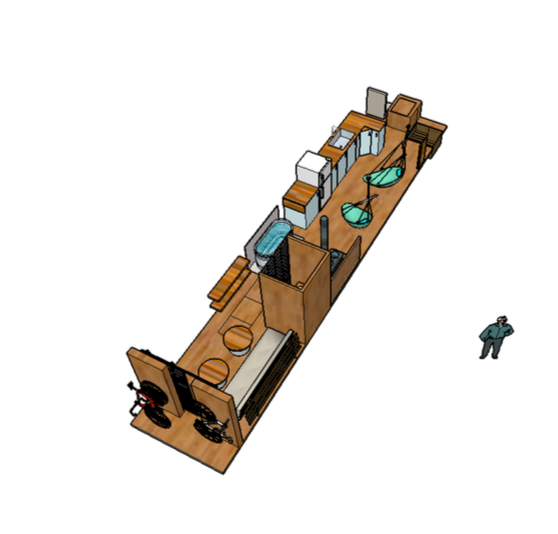
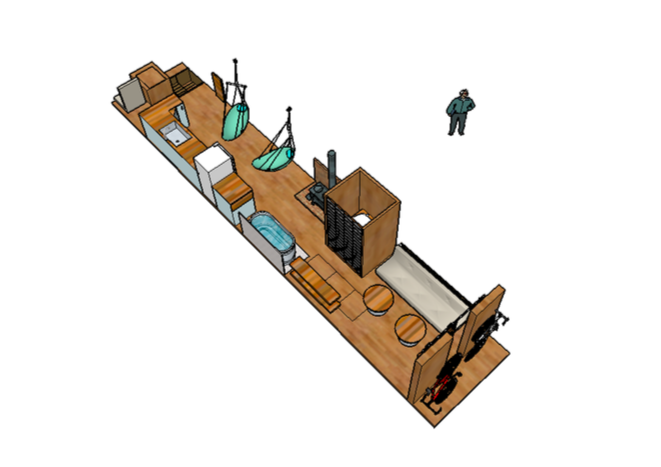
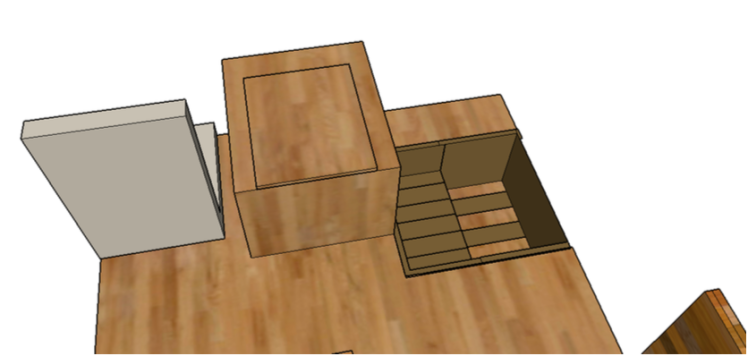
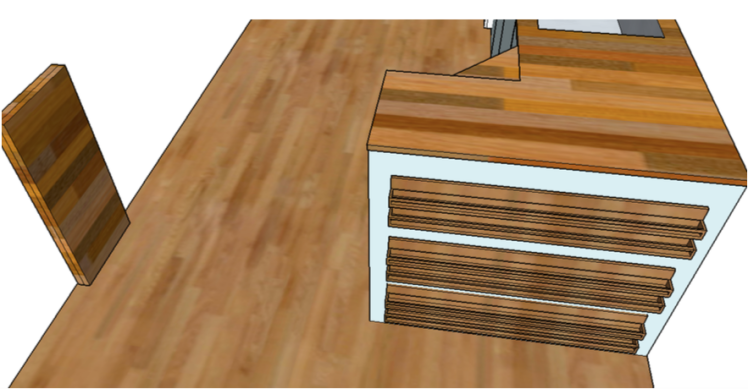

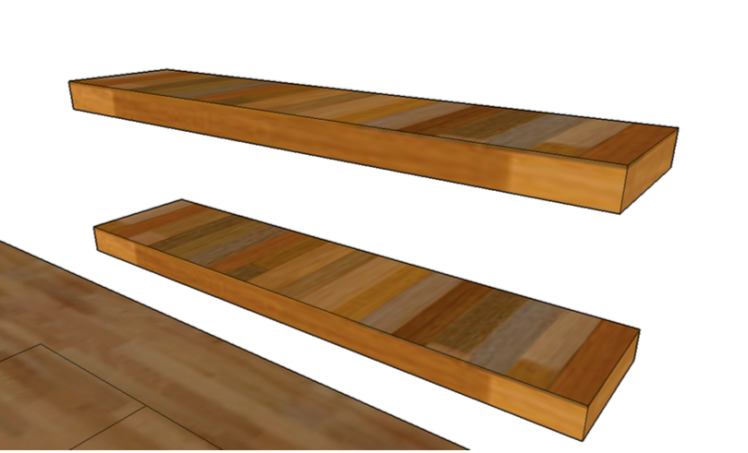
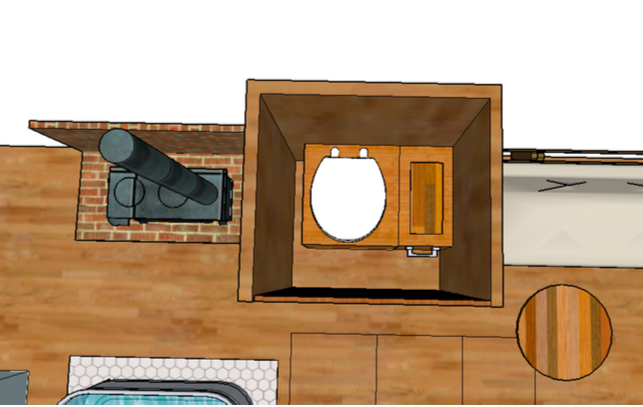
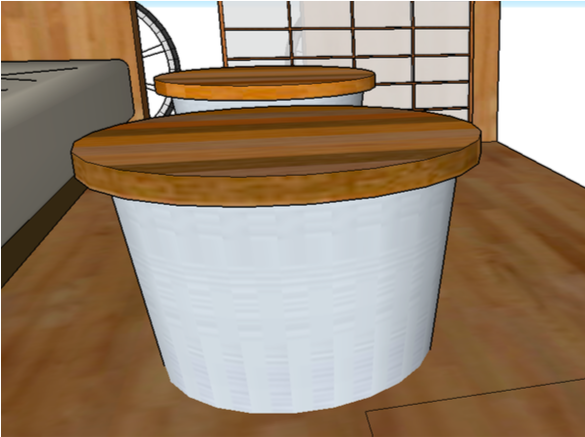
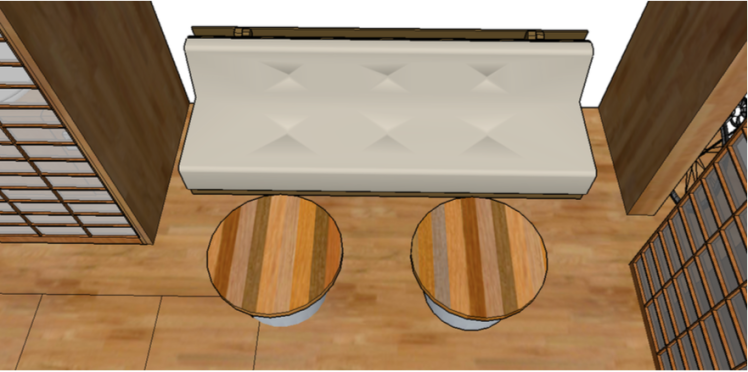
Have you designed in SketchUp or other 3D CAD software? Feel free to leave your suggestions and feedback in the comments section.
Love the floorplan…..we are currently sketching what we want for a charter bus for RV living. We plan to do a murphy bed in the back!
LikeLike
Thanks! I keep making changes to the floor plan on a weekly basis. There are a few things Bart and I each want and it’s tough figuring out how to most efficiently layout the bus! I’m also getting more comfortable with SketchUp. If you haven’t used it before, I would definitely check it out. It’s free and you can really get a feel for how things will look. Thanks for stopping by. Hopefully I will have some big progress to report by the end of next week! 🙂
Good luck with your designs!
LikeLike