I tend to be a bit too optimistic (if that’s really a thing) when it comes to my project plans and timelines. Supposedly, the most difficult or, more accurately, hated task of a bus conversion is the seat removal process. Each bus has at least five or six rows of seats and the large, longer buses can have 30+ seats. For each seat in your bus, you will have six bolts: two on the outside facing wall, and two sets of bolts on each of the two brackets near the aisle. It seems fairly straightforward and even if the bolts are rusted, how tough can it be? Well, after finishing this process myself, I have to say that it is much tougher than I had expected.
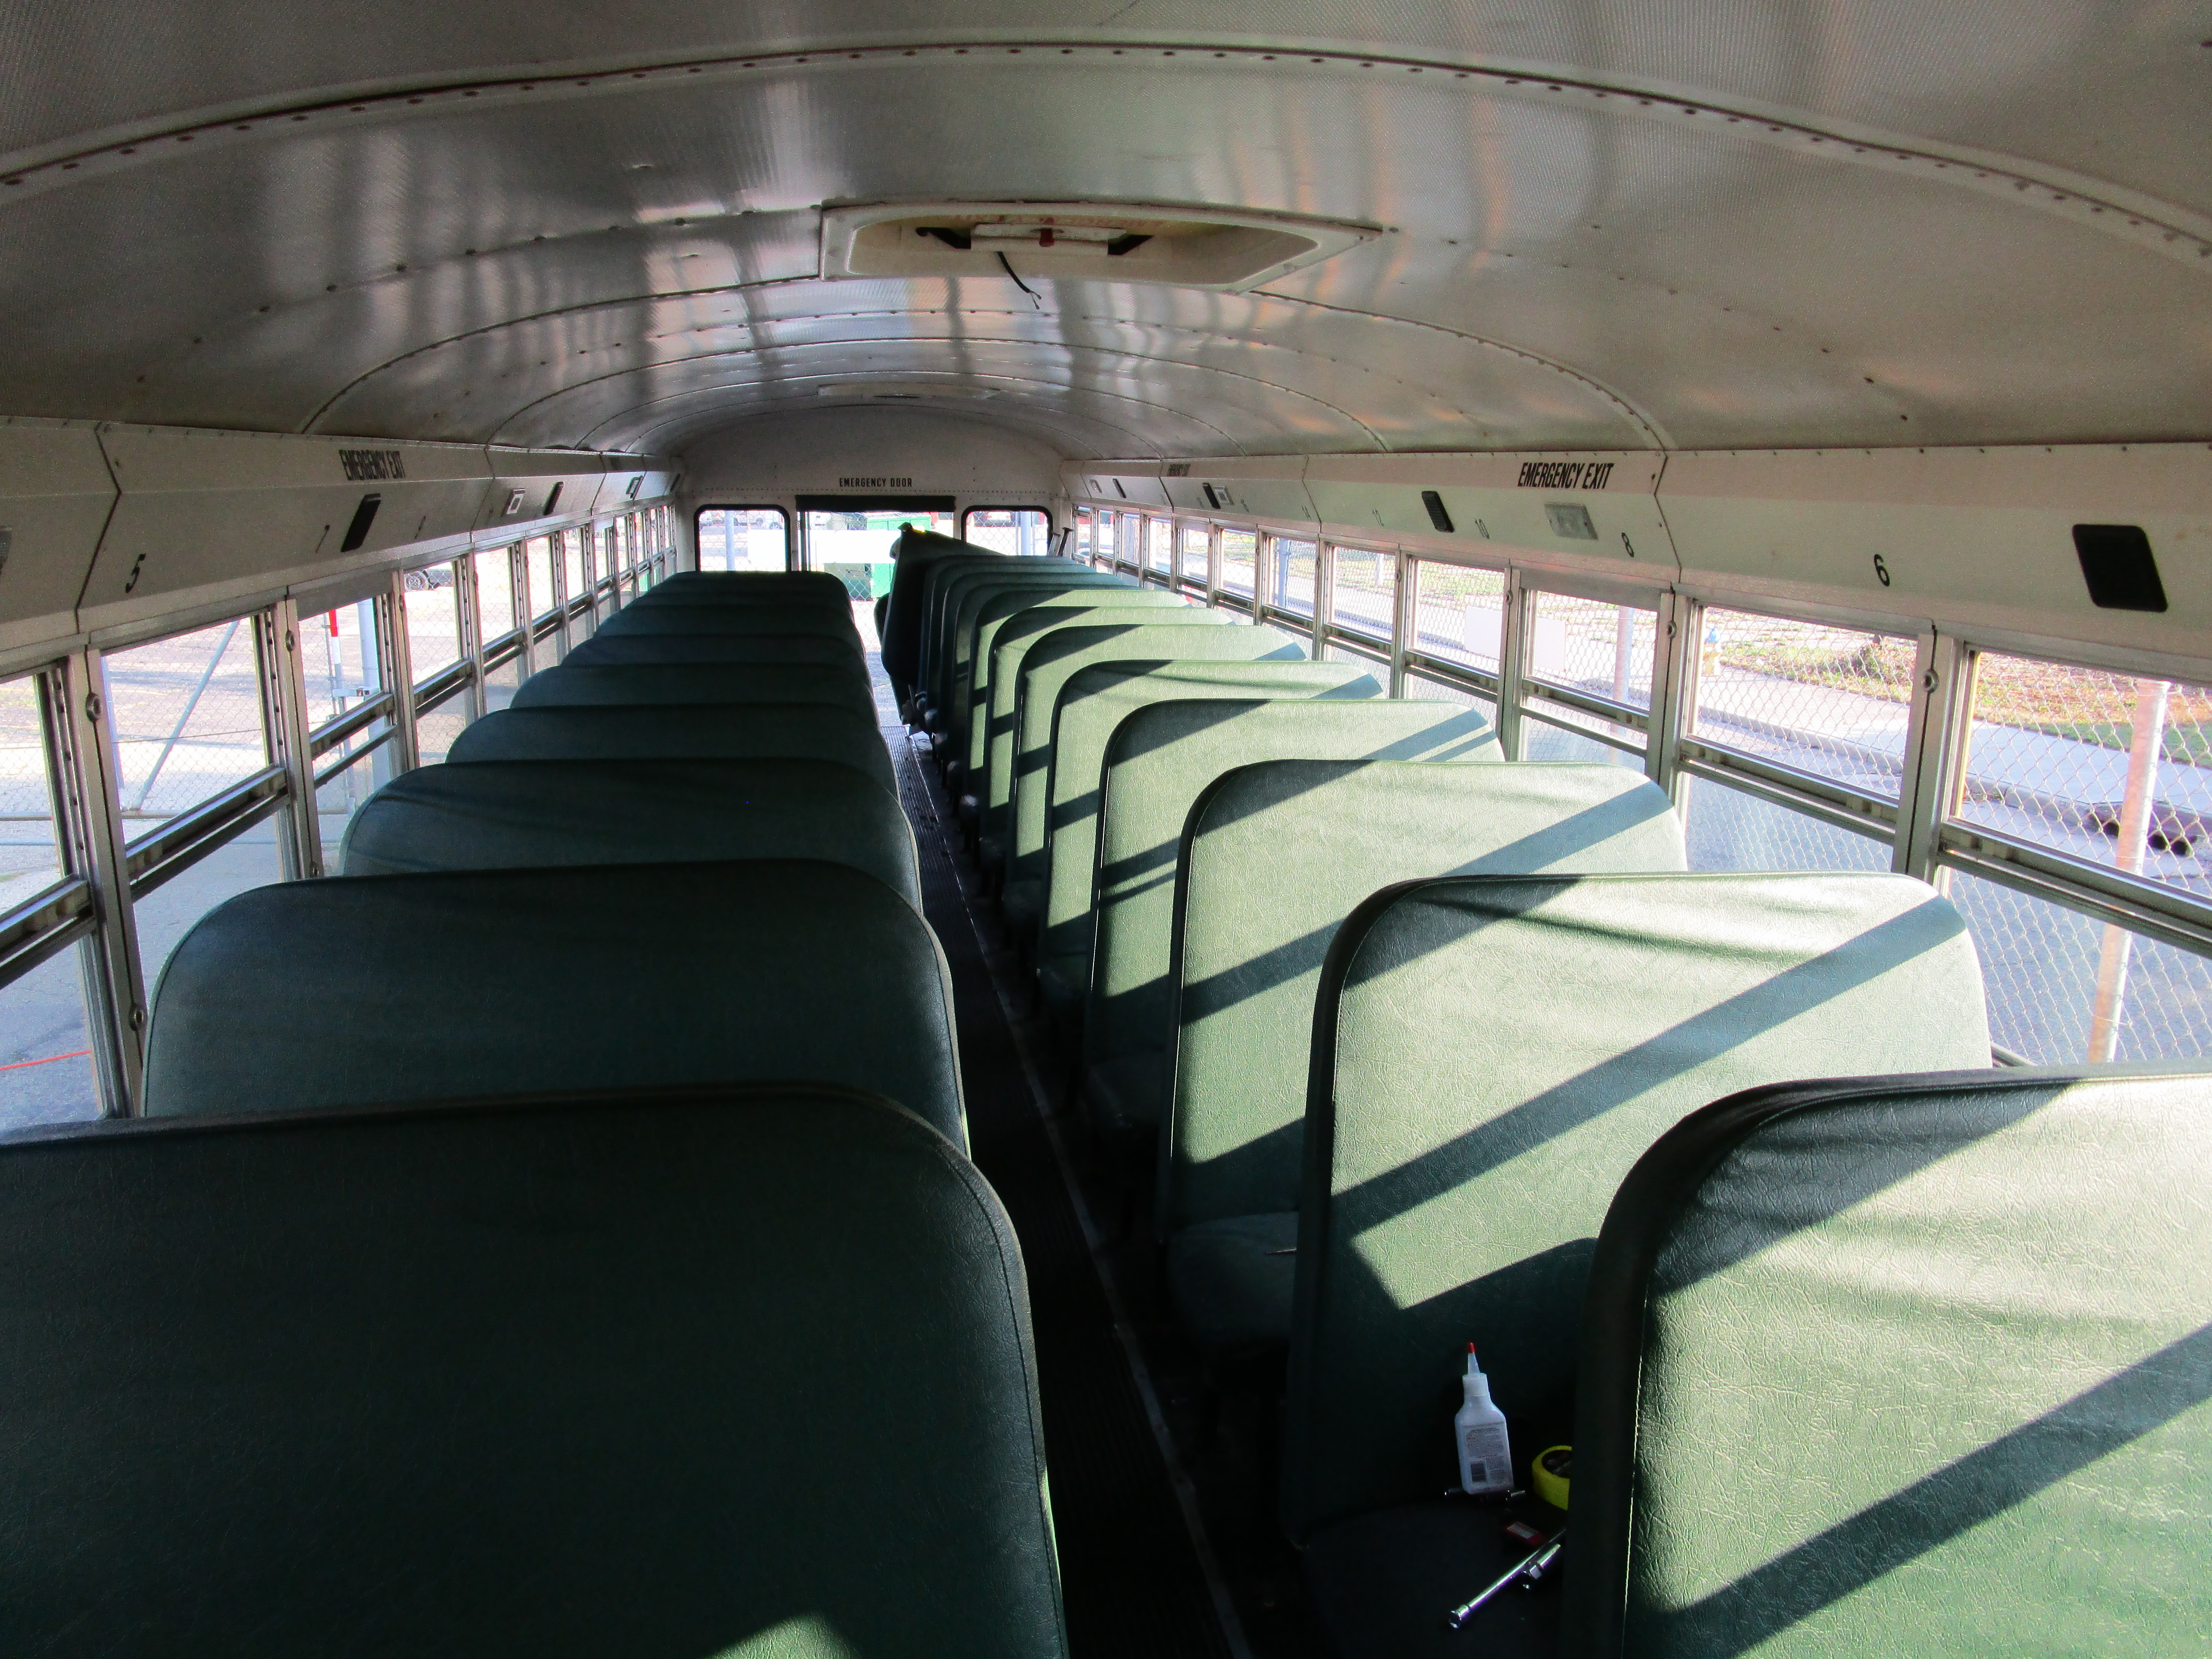
BusBus had 28 seats and then the two panels right behind the stairs and driver’s seat. First, we tried socket wrenches, which I believe were 1/2 inch and/or 12mm in size. One person sat in the bus with a socket wrench and the other laid underneath the bus with another socket wrench. Our bus was driven in Ohio and although Ohio is not upstate New York or Minnesota, we do get a decent amount of snow each year. I mention this because our bus has rust – a lot of it. The bolts were pretty rusted. They were rusted just enough to make them stick, but not enough to make them break (unless on accident). On occasion, we got lucky and broke a bolt. In trying to reproduce this result, we had very little, if any, luck. We added liquid wrench. No luck. We tried attaching the wrench sockets onto both a drill and impact driver. We figured it would at least break the bolt. It didn’t. It also did not loosen the bolt. The wrench process took us about five or six hours in total. When the wrenches didn’t work, we tried a chisel. It turns out that I am terrible at chiseling anything. Not one bolt was broken, snapped, or loosened using a chisel. I do not recommend this method unless you enjoy failure and a great upper-body workout.

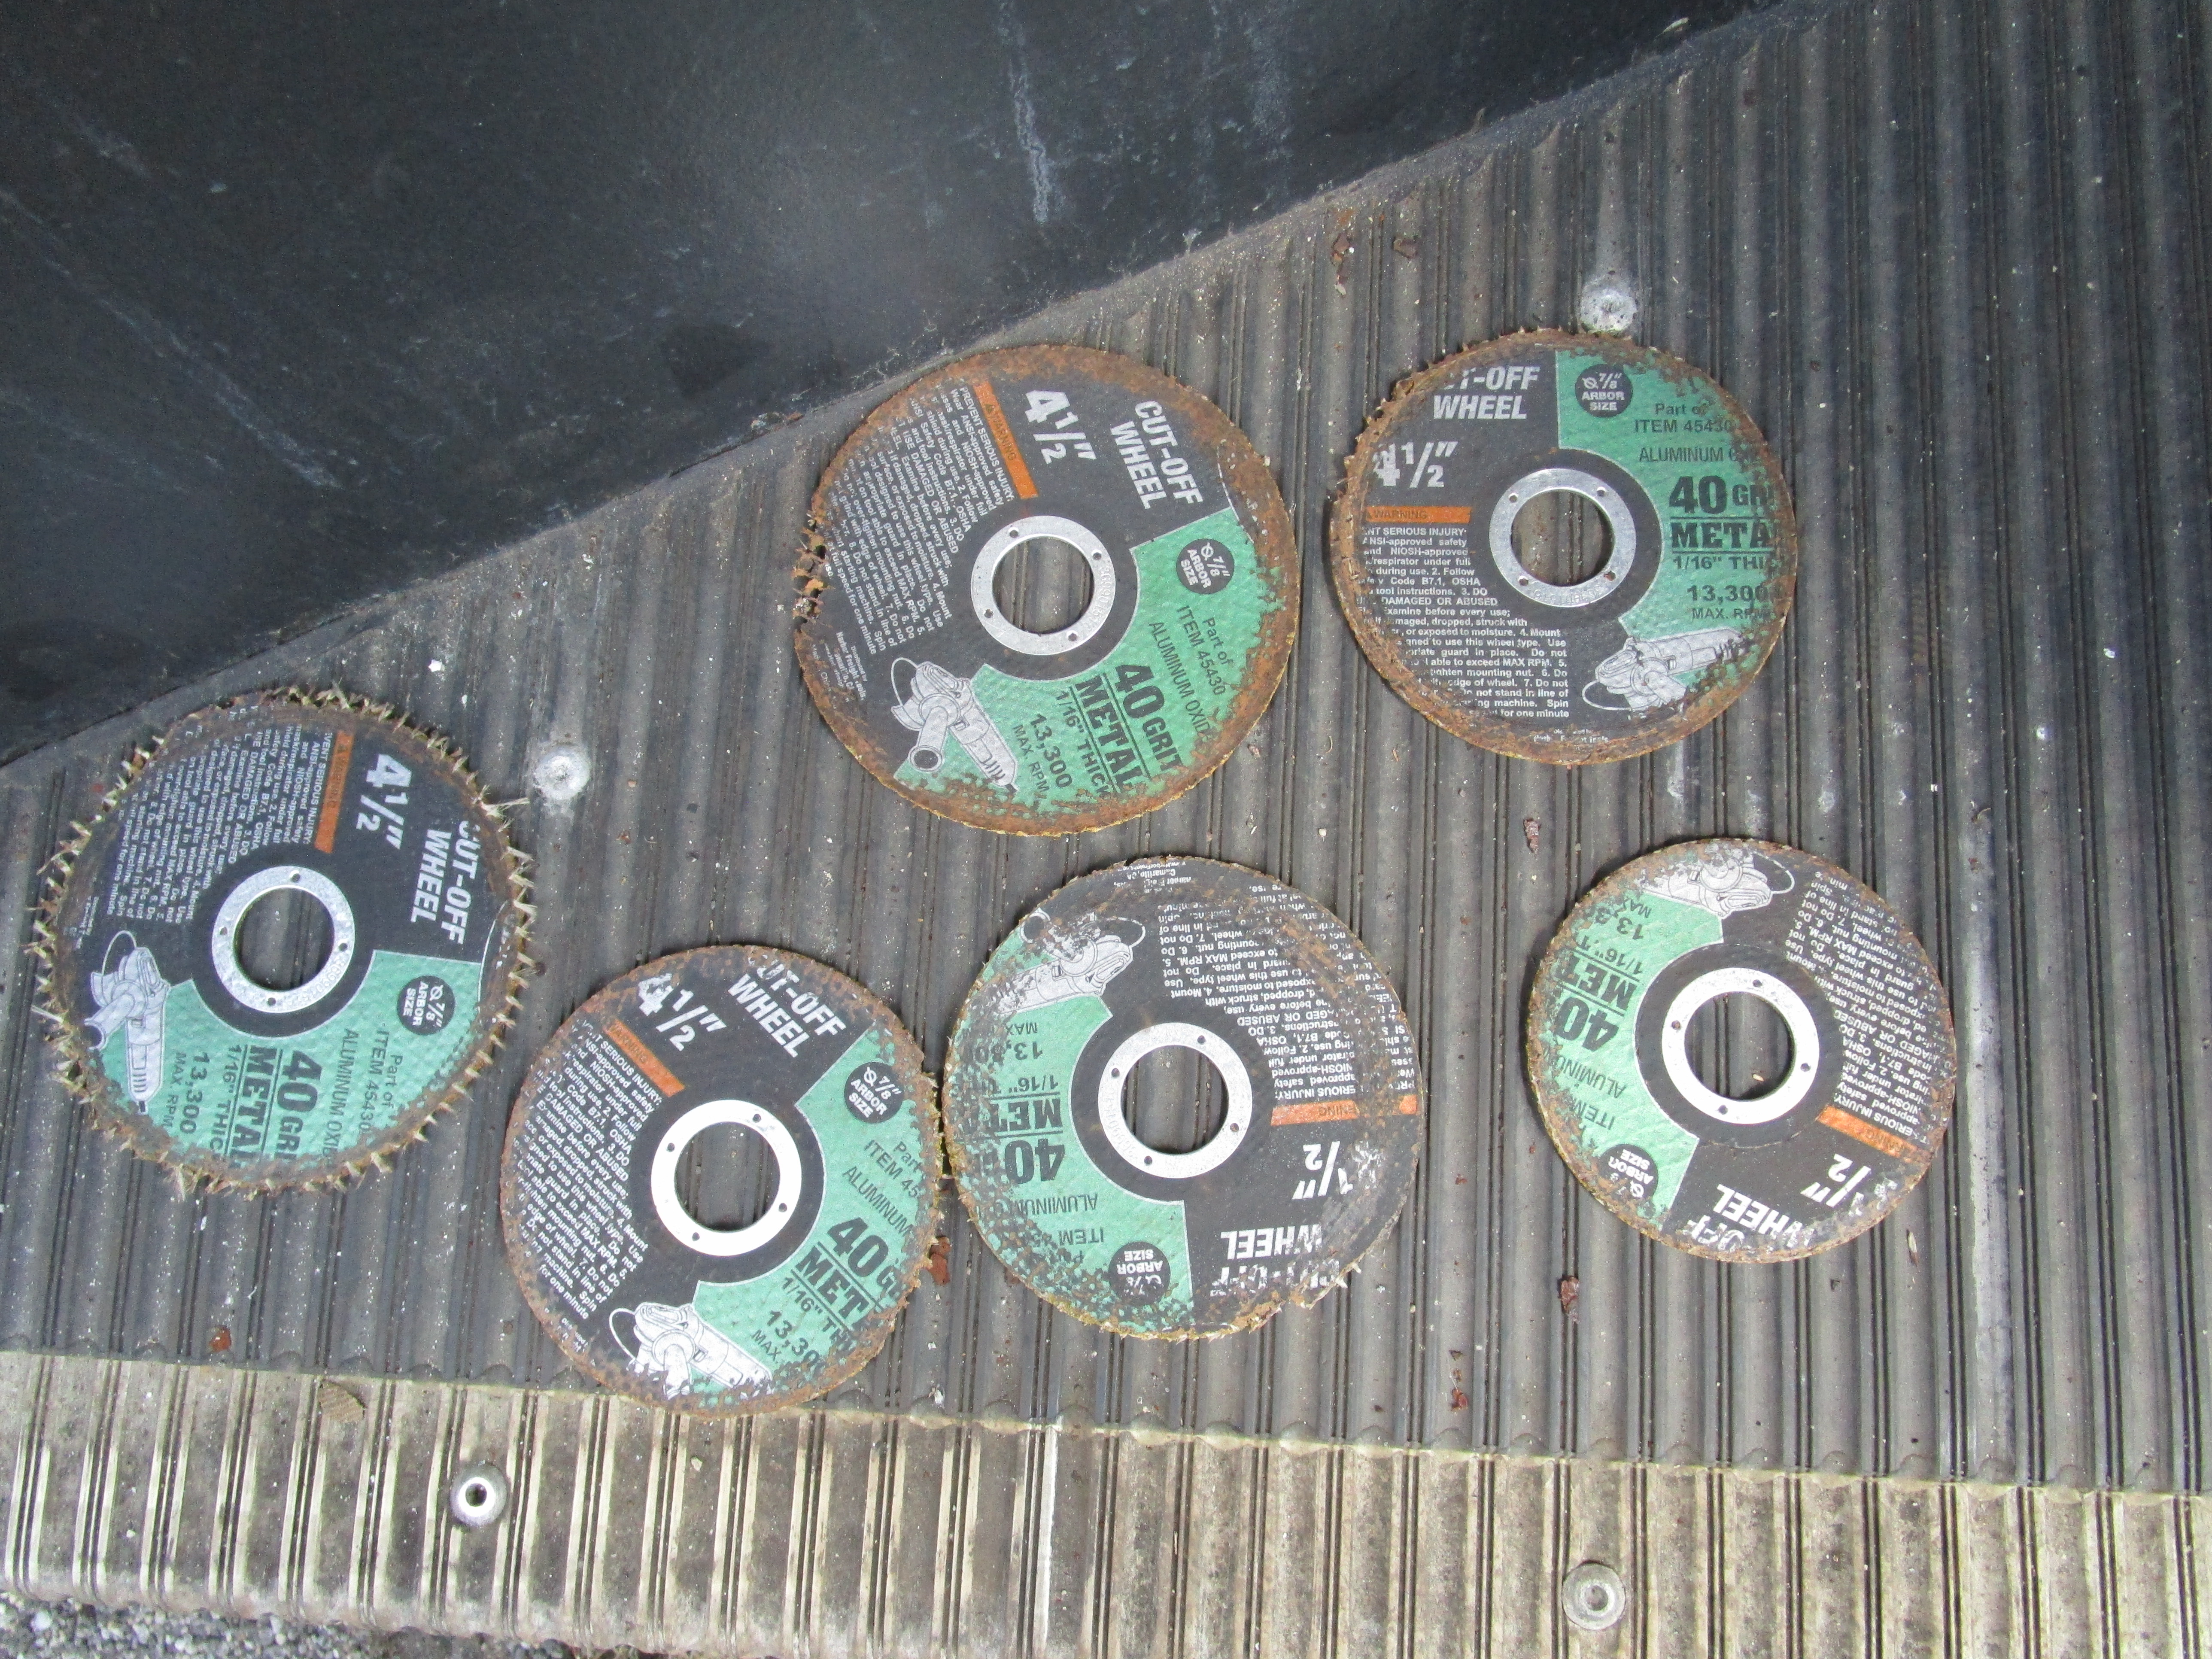
After getting smart, we borrowed an angle grinder. We didn’t realize there was a release button on top of the wheel head and so couldn’t change the wheel. Our very kind friend showed us how to remove the grinding wheel using the release button… that worked a hell of a lot better! We purchased a 10-pack of cutting wheels and began cutting the bolts off. This, too, took longer than I expected. We were able to remove a total of four seats in about two hours. We came back the next day and removed another 10 seats, pushing us to the halfway point!! That took about 2 more hours. Do you see the trend? We’re getting better, smarter, and faster – or so I’d like to think. We took a break for lunch and upon our afternoon session (I will add that it was ~95 degrees Fahrenheit), we were able to remove the remaining 14 seats and the two steel panels at the front of the bus. It took us no more than 40 minutes. We figured out a good process and busted through those seat bolts like champions. I would cut off the bolts a little more than half through and Bart would come behind me and chisel off the bolt head and punch the bolts through the floor of the bus. For the inner, front bracket, I would swivel the seat back a for to break off a little of the rusted bracket, giving me more space to cut with the cut-off wheel.

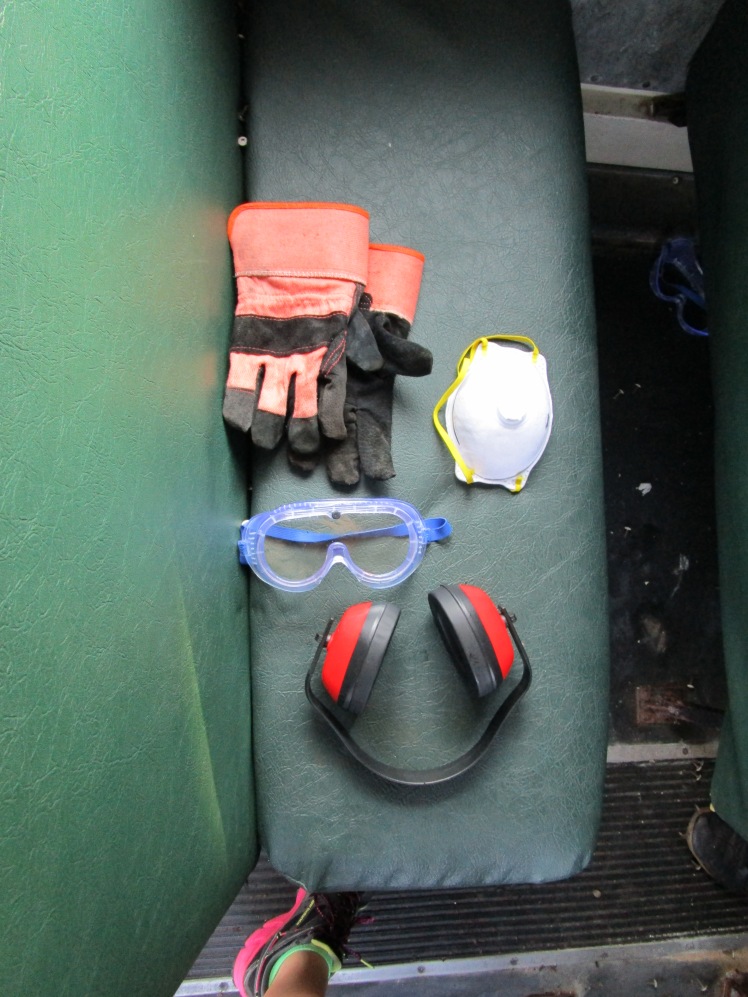
I don’t recommend wearing open-toed shoes while using an angle grinder, especially near your feet. This was an exception to the rule…


We were also going to attempt to use a gas torch and pry bar to work the bolts off. Luckily, the angle grinder pulled through for us and after getting out the last bolt of the last panel, you would have thought we just saved the world from an uncertain doom. After going through six cut-off wheels, we pulled out the last seat!
Bart and I celebrated with a beer, then packed up our climbing and camping gear for a day trip to Muir Valley in the Red River Gorge.

Now I am left with the next hurdle: what to do with the seats? I thought about listing them on Craigslist as a free item or for a couple of dollars each. Bart had the great idea of scrapping the steel. We figured out that it might bring us about $10 per every 100 pounds of steel. I have no idea how much these seats weigh, but it’s a lot. I’m now in the process of stripping the vinyl seat covers, the wooden bottoms and the foam cushions off each of the seats and panels. Hopefully, we will make a few bucks and prevent these from going to the fill or going to waste in some other way. I’m still not sure what to do about the vinyl seat covering, but I am trying to keep them as in tact as I can in case we can upcycle them later. The foam, too, leaves me without any ideas on how to use it.


Gutting the bus is a physically taxing project and leaves you disgustingly dirty and tired. I don’t mind the dirt now that we’re making progress. The bus is much more spacious without the seats and stays cooler, which is an added bonus. If I haven’t mentioned it yet, buses are hot inside. We have no shade where BusBus is parked. The windows are more challenging to open and close than I remember; although, once open, the cross ventilation is well worth the effort.
In our next post, I will walk you through how we gutted the rest of the bus (i.e., side and roof panels, insulations, and flooring).
What do you think? Share your tips on seat removal, loosening rusty bolts, or anything else you’d like to share in the comments section or email me at busbuscompany@gmail.com.

Absolutely love your posts and the pictures; so much information. I am really looking forward to your next post.
LikeLiked by 1 person
Maybe and I say maybe you could repurpose the foam (if it is not toxic polyurethane) into your furniture seats. The vinyl, I have no idea. Maybe coverings for outside seating but I can’t stand vinyl so…
LikeLiked by 1 person
Thanks for the ideas, Beth. I was thinking of maybe using the vinyl for our decks seating/cushions. I’m not a big fan of vinyl either and it’s not the most pleasant green I’ve ever seen! I was also thinking about creating vinyl coverings with snaps for the windows to help with draft prevention.
The foam is almost guaranteed to be polyurethane, which poses a problem, but who knows, maybe I’ll figure out what to do with it eventually!
LikeLike